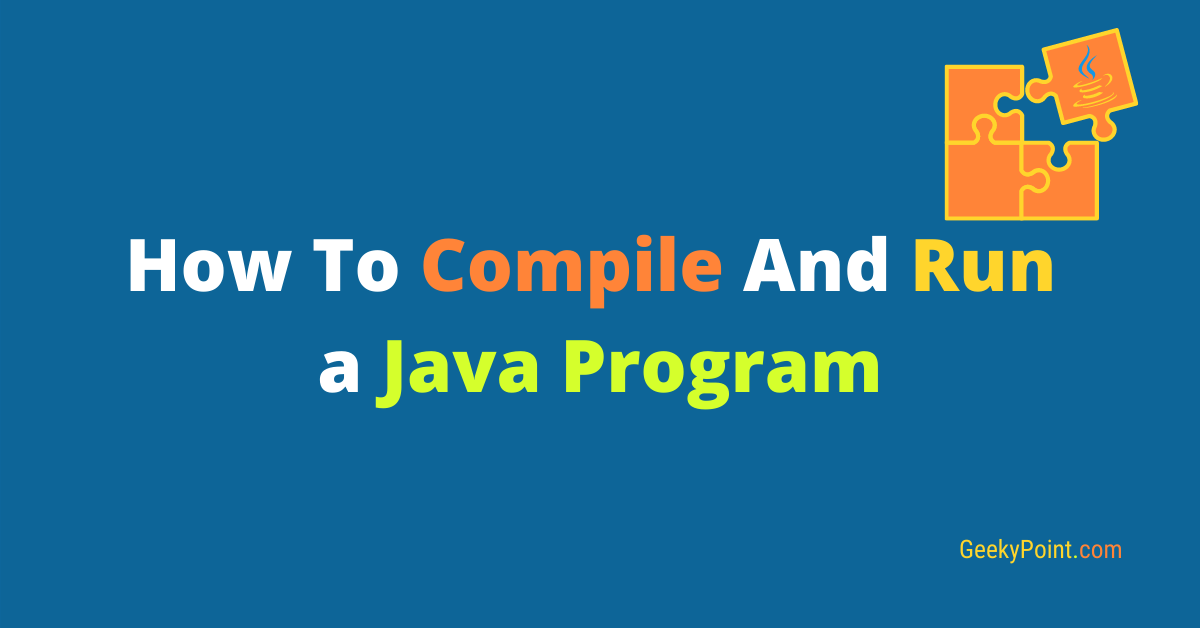
Run Java Program: 2 Easy ways
This simple basic tutorial will guide you to compile and run Java programs effortlessly. I created this post for the complete Java beginners.
I hope you have understood how to write a Java program from the previous guide. If you haven’t read the previous guide, I strongly suggest you read it first and then come back. If you know how to write a Java program, then it is time to see your Java program in action.
Continue reading to learn how to compile and run Java Programs successfully using an IDE or a text editor.
Previous Topic: Write Your First Java Program
Next Topic: Java Variables
Sample Program code
public class FirstGeekyPointProgram {
	public static void main(String[] args) {
		System.out.println("Please don't print Hello World.!");
	}
}
Write Using a Text Editor
If you use a text editor, then things are easier than you think. You open the text editor and type the Java program given above and save the file in a directory you would like.
You need to use the Command Window/Terminal to run the Java program. Use the following steps to run your first Java program successfully.
-
- Open the text editor
- Type the Java program
- Save the program
- Go to the saved program directory
- If you are using the Windows operating system, click on the address bar and type ‘cmd‘, then press the enter key to open the command prompt in the same directory
- If you are using a Linux based OS, right-click anywhere on the directory window and select ‘open in terminal‘
- Enter the command ‘javac<space> Filename.java‘ to compile the Java program. Then the compiler will generate the byte code file in the ‘ClassName.class‘ format.
- Enter the command ‘java<space>ClassName‘ to run the program.
The javac Command
The javac command compiles the Java source code and creates the byte code.
The java Command
The java command loads the byte code and starts the java runtime environment to run the Java program.
It will display the output in the command window as you see below.

Write Using The Eclipse IDE
Follow the below steps to create and run your first Java program using Eclipse IDE.
1. Download and install the Eclipse IDE from the official Eclipse website here.
Note: You must install JDK and set up the Java environment before this step.
The eclipse setup wizard will pick the installed JDK automatically. You can install the ‘Eclipse IDE for Java Developers‘ for now.
Here I use the Eclipse 2020-09 version. It requires the JDK 11 or higher version.
2. Open the Eclipse IDE.
Use any of the following ways to open the Eclipse IDE.
- Click on the Launch button after the installation.
- Open it using the desktop shortcut
- Go to the installed folder and double click on the ‘eclipse.exe‘ file.
3. Choose a workspace for your projects.
4. Create a Java project
Use the following steps to create a Java project.
- Select File -> New -> Java Project
- Enter the project name
- Choose the project location or continue with the default location
- Choose an execution environment JRE from the drop-down box under the JRE section and click on the Next button
- Click on the Finish button
5. Create a package for your first Java program. To create the package, expand the created project on the ‘Package Explorer‘ on the top left corner.
Right-click on the source (src) folder. Choose New -> Package. Enter the package name and click Finish.
Note: The package name must be in lowercase letters. It must not include spaces, and it should not start with a digit.
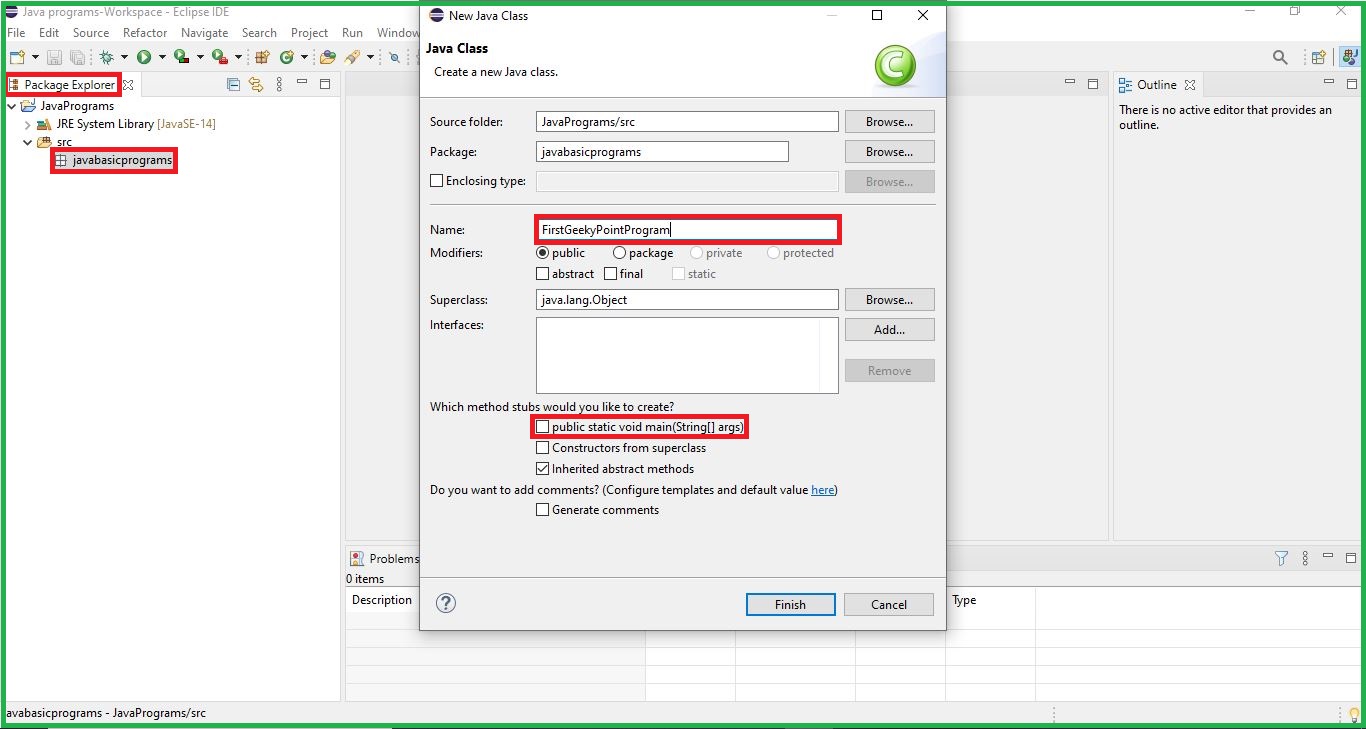
6. Create Your Java class
- Right-click on the package you have created
- Select New -> Class
- Enter the class name
- Click on Finish
Note: There is an option to add the main method automatically in the ‘Create a New Java Class‘ window. You can choose that if you wish.
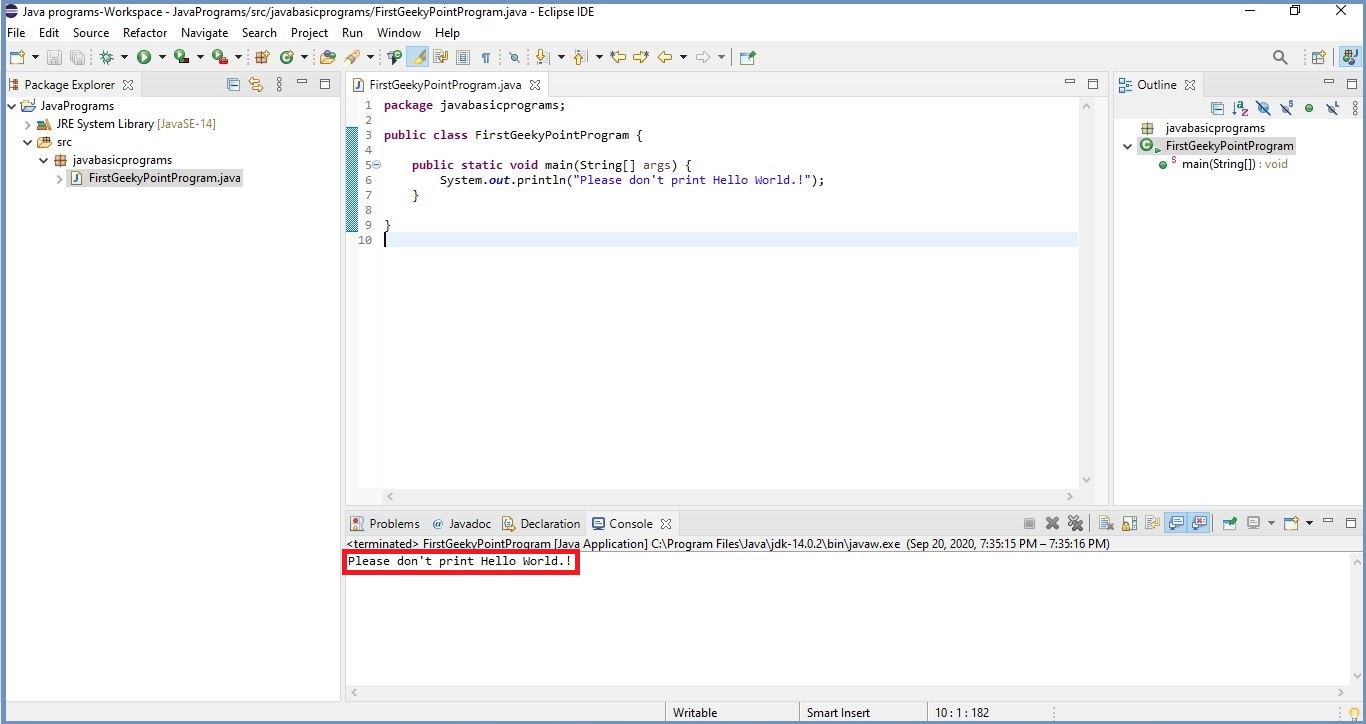
After clicking on the Finish button, your Java program will be open in the Eclipse source code editor.
7. Enter the code in the Java program given on top. Press ctrl+S to save the program.
8. Run the Java program. Use any of the following ways to run your first Java program.
- Click on ‘Run‘ on the top menu bar or press ctrl+F11

- Right-click on your program and select Run As -> Java Application or click anywhere on your program and enter alt+shift+X then press J

- Click on the ‘play button’ under the top menu bar and select your program or select Run As -> Java Application

It will print the output in the console as you can see below.
Now It is Your Turn
In this guide, I explain the small simple steps to compile and run Java programs.
I hope you find this helpful.
So, would you like to use a text editor or an IDE to write your first Java program?
Let me know by dropping a quick comment.!
If you find this guide useful, please share this with your friends.